Steps to follow
·
First Download eclipse
·
Write a very simple Hello world java code.
Let start Journey:
- Download the eclipse from following link: http://www.eclipse.org/downloads/
- You will see page like this.

- Please click on “Eclipse IDE for Java Developers” this is basically used for java beginners.
- Once you click this link you will find following page

- Click on windows 32-bit at right side column this is for 32 bit windows OS or select any other based on OS type.

- Now click that Green button to download your Eclipse IDE.
- You will see a download by name “eclipse-java-indigo-SR1-win32.zip”
- Unzip this .zip file now you will see one folder called “eclipse” open this folder you will set of the other files

- Click on eclipse.exe file now

- You can select your own workspace at your required location once you are set you can click ok

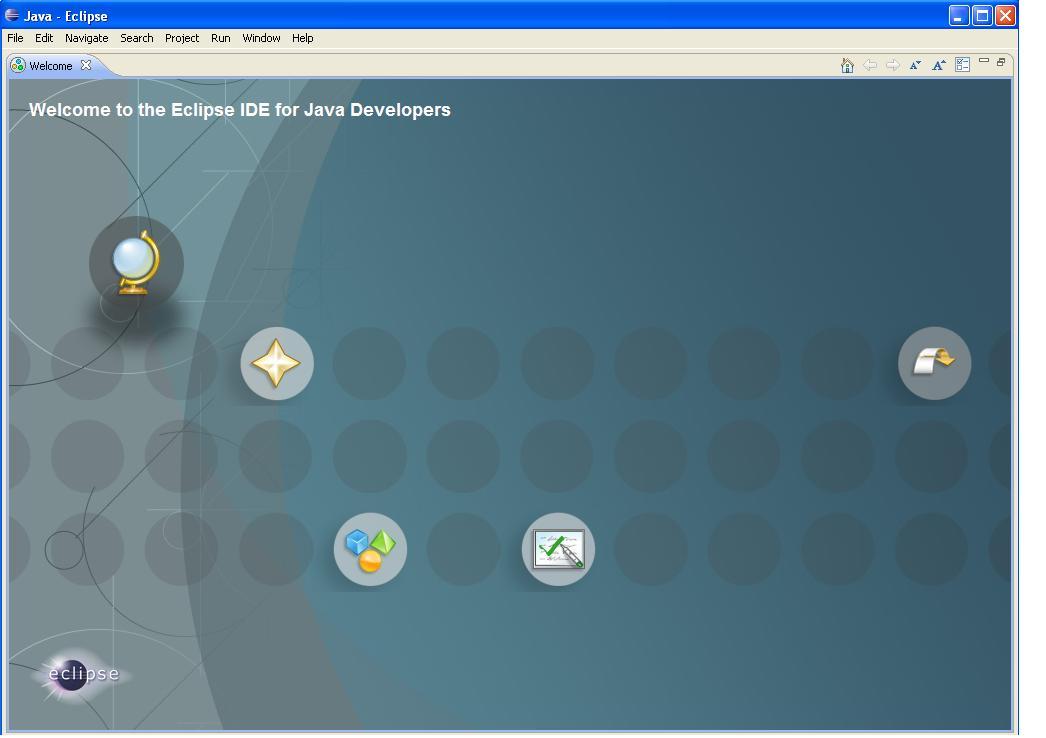
- You will see initial start eclipse screen like this
- Click on X symbol to close the welcome screen and you will see something like this

- Now right click on Package Explorer select New >> Java Project or select File >> New >> Java Project

- Now put your Project Name and click next and finish you will see the project context at left side Now we had given Project name as First_Java

- Now right click on Src folder under Package Explorer and select Package

- In our case I had given package name as test and click finish to creating package.
- Now right click on package test and select Class

- Give class name in our case I had given as HelloWorld now if we see below column I selected “public static void main(Strings [] agrs) option and click finish.

- Under main method you can type System.out.println(“Hello World !!! “);
- Now Run your first Hello world programme.

- You will see the output under console like this.

- So this is how we need to use eclipse to run your stand alone code.
- In our next post we will more details about eclipse.


0 Comments